

Gates of Boletaria (1-1) Walkthrough
Take the 1-1 Archstone to spawn into the Gates of Boletaria. Head directly behind you, and on the left side behind a barrier will be some Half Moon Grass. Go back to the spawn point and continue forward up the stairs. There will be enemies hiding behind the barriers along the stairs up to the gate.

Red Dragon: The Wings of Death
At the top of the stairs, turn left to head towards a smaller gate. Turn left at the smaller gate, and immediately head right down a small alley. There will be an archer on a top of a wooden platform, and two enemies in the small courtyard. In the middle of this area is a pit with souls floating around in it. You can bait the enemies into the pit to easily eliminate them. Continue forward through the doorway. There will be a Dregling directly in front of you, and one hiding to the right that is waiting to ambush you. Once these enemies are taken care of, continue through the second doorway and follow this path forward. There will be breakable furniture after coming through a third doorway that will need to be broken with a melee attack. Behind the furniture is five firebombs. Head up the stairs on your left and take out the enemies at the top of the landing. Head through the fog wall.

Ambush awaits
First Fog Wall
After going through the fog wall, turn right immediately head down the hall to collect some items. The first will be a Soldier’s soul, and at the very end of the hallways is a mail breaker. Retrace your steps to the bottom of the stairs and follow the stairs up. Note: The enemies on these stairs throw firebombs, and they have a decent throw range.
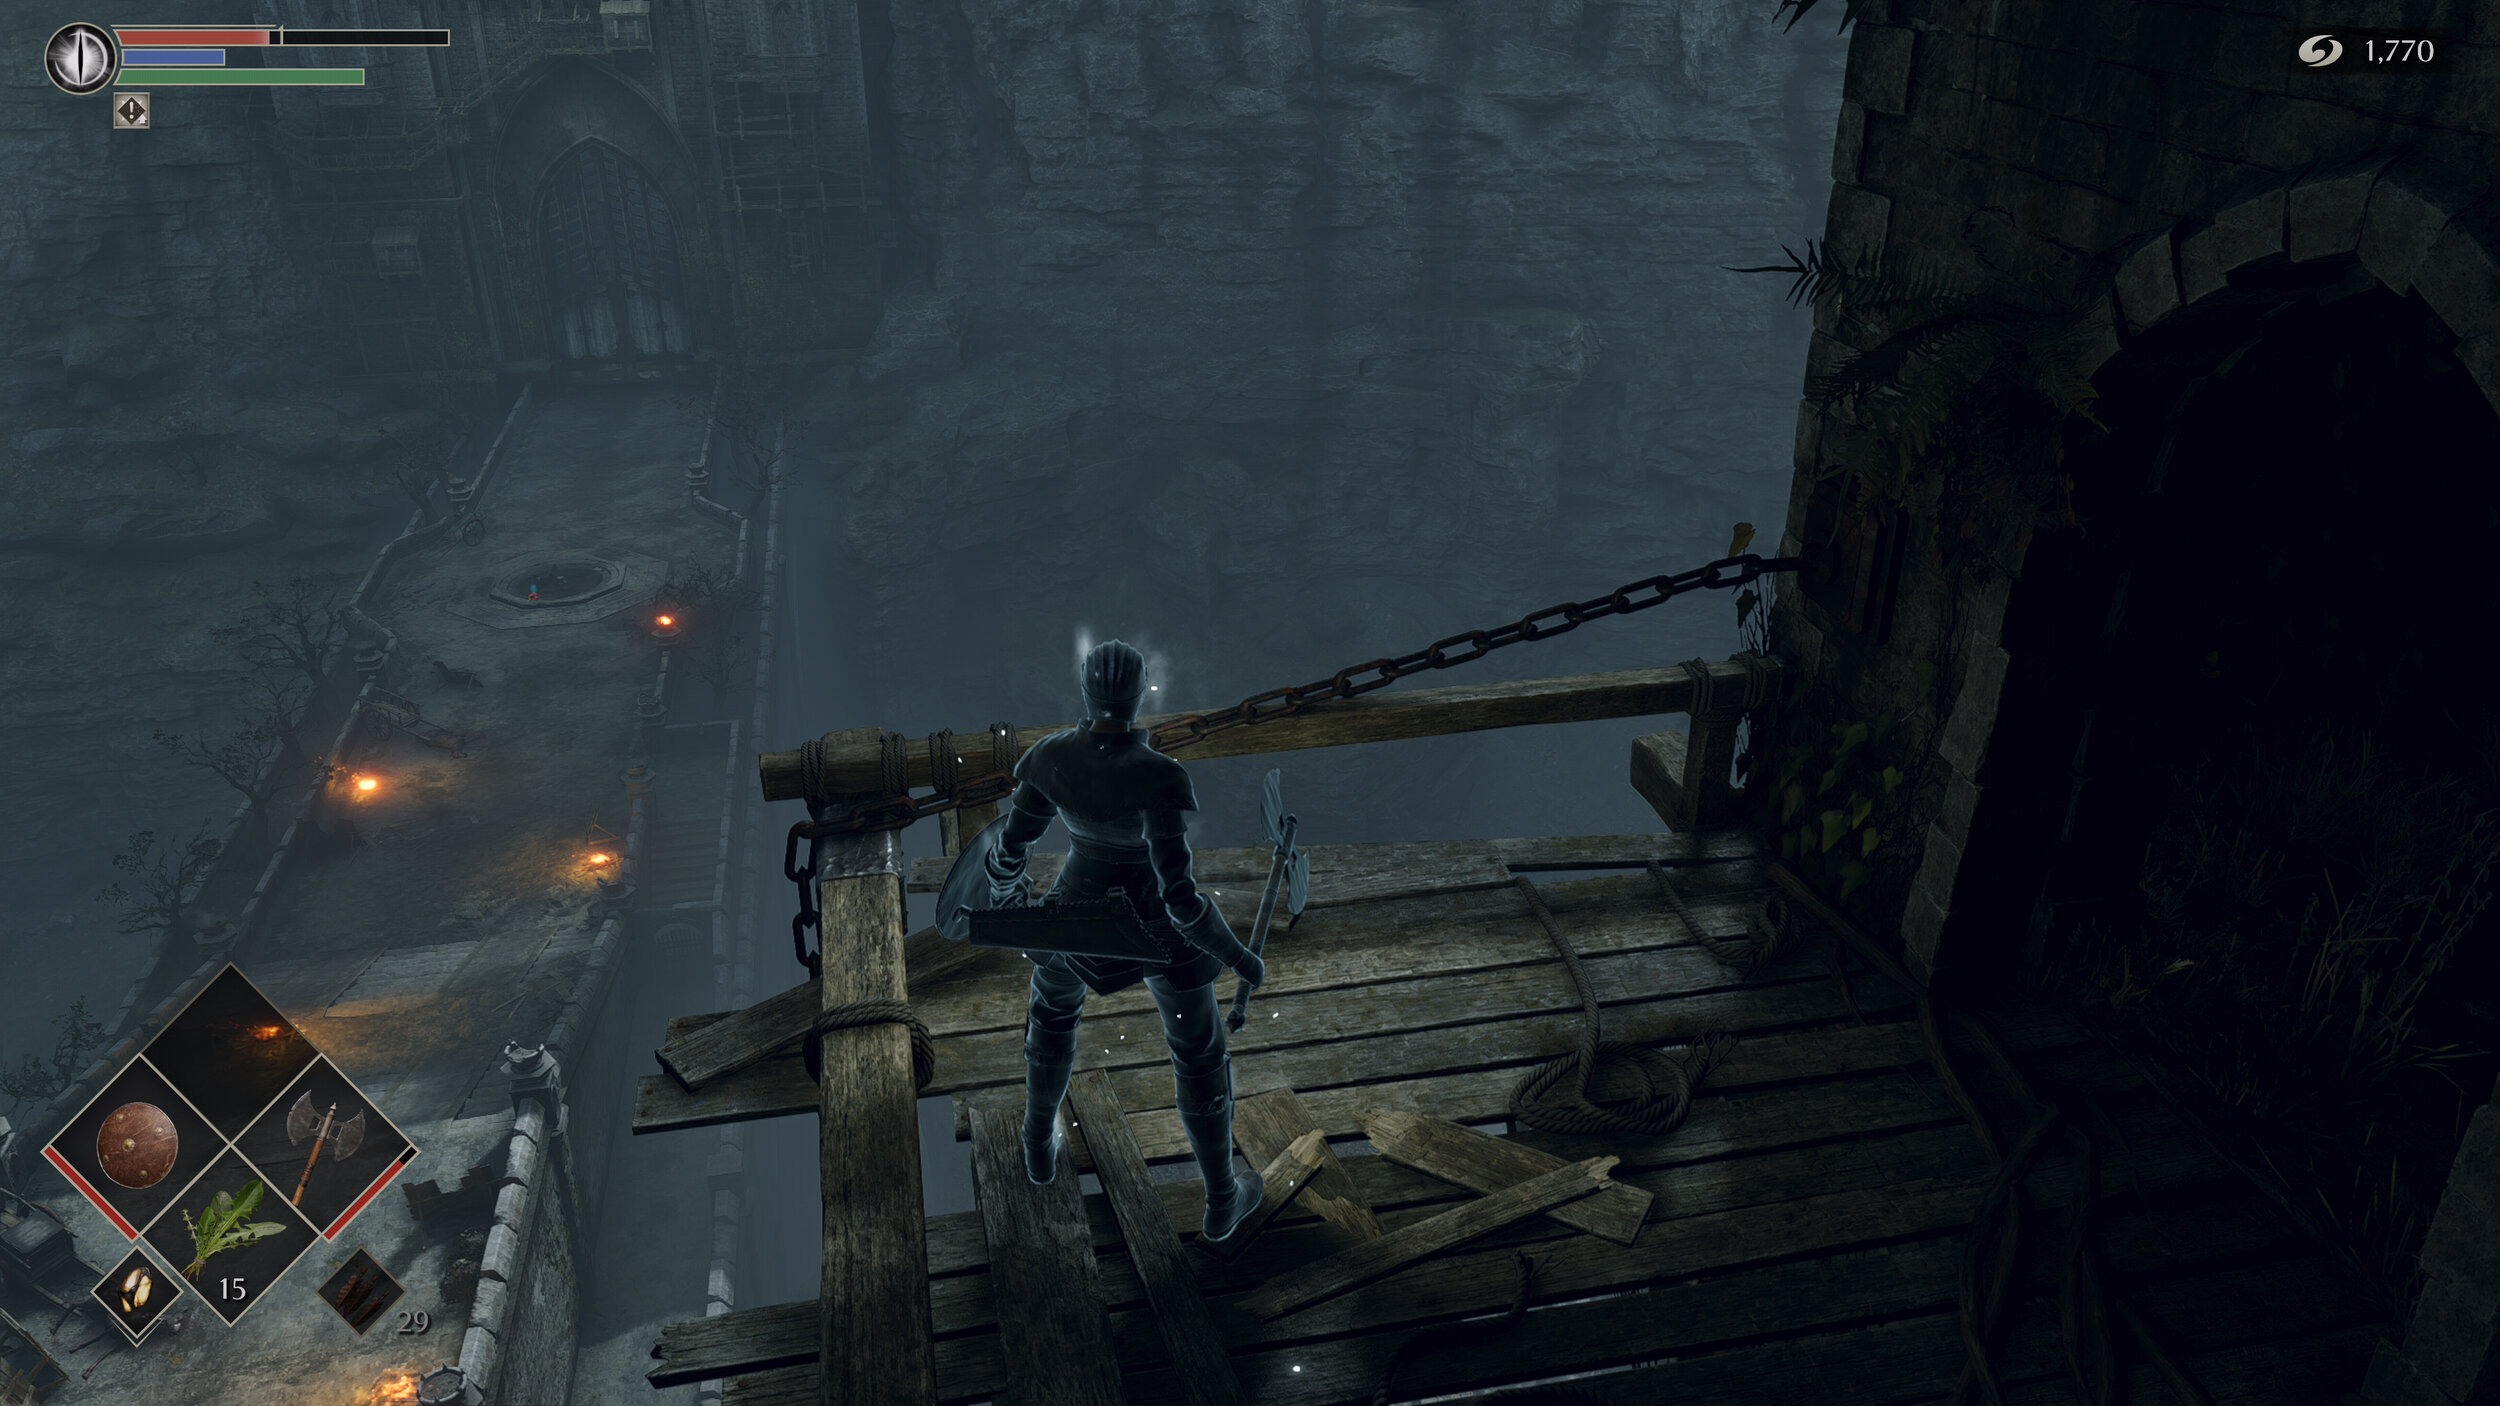
Once you reach the top of the stairs, dispatch the enemy on the wooden structure with magic, firebombs, or a bow. Continue straight until you reach a door on your left. Go through the door, up the ramp, and head left through a door at the top of the ramp. There will be some planks you can follow to the left for an item, and stairs to the right. Once you are halfway up the stairs, a Dregling will push a boulder down. Quickly run down the stairs and veer left to avoid the boulder.
This boulder will break some wooden planks below the stairs allowing you to drop down. Drop down to collect the Bastard Sword.
Retrace your steps back to the Dregling that pushed the boulder toward you. Beware: there is an archer directly behind you when you come to the top of the stairs. Once you eliminate the Dregling at the top of the stairs, follow the path to the archer that shot at you and head this direction. You can clear these enemies quickly or run past them. Go into the doorway and turn left and there will be a red-eyed knight at the end of the path. The easiest way to take out the red-eyed knight with ranged attacks or magic. At the very end of the path is Moon grass. The door on your right is locked, but you will be unable to open it. For now, head back to the bridge and continue past the stairs where you first came up.
For now, go straight past the fog wall, and continue forward into a room with mining carts. In the right of this room are 6 firebombs. Head down the stairs at the back of this room. At the bottom of the stairs, there will be lots of red ringed barrels, these barrels explode when they receive fire damage, so equipping firebombs through this section is useful.
Tower Shortcut
Continue downstairs, and there will be a small doorway on your left. Head out this doorway and cut the chains. At the end of the stairwell is a lever that you can pull to open the gate. This is a shortcut to where you first spawn in a Boletarian Palace. In between the two gates that open will be the Cling Ring. This ring will reduce the HP penalty when in Soul Form and is an especially useful early game ring.
Cut the chains to reveal the Tower shortcut
Head all the way back up the stairs to the fog wall that you skipped earlier. Follow the path to the right which will lead down the stairs, turn right again. At the end of this short hallway will be a firebomb throwing Dregling, with flammable barrels in front of him. Wait for him to blow up the barrels or blow up the barrels yourself. Take the right path once more until you reach a cross section with two enemies. Take out these enemies and follow the walkway that is cluttered with wooden barriers. Take out the barriers with melee attacks, and at the end of this path will be a merchant. Talk to the merchant here and buy items if you need them.
Go back to the cross section where you eliminate the two Dreglings and turn right, throw a firebomb at the barrels in front of you to eliminate some Dreglings hiding behind the barrels. Take the left path, carefully walk down the ledge and drop on to the overhang, and the drop down into the courtyard. There will be a soldier to your left to eliminate. Walk behind you to a closed door when you get close to the door a Dregling will kick the door open. Take out the two Dreglings on this small landing and turn right into a courtyard. An NPC will call out for help, and all the Dreglings that were trying to get to the NPC will lock onto you and come to attack you. Firebombs work well in this area to deal damage to multiple enemies. You could also bait the enemies into the narrow hallway directly behind you to defeat them one at a time.
Ostrava
After all the Dreglings are defeated, the NPC will drop down and you can talk to him. After talking to him twice, Ostrava will begin to walk forward. Before following Ostrava, turn around and head through a small archway, and turn right to pick up the scimitar. Head back through the archway, turning slightly left and go forward until you reach a small alleyway. Note: You can follow Ostrava through this area, he will help you eliminate Dreglings, but he will not run directly into a large group of Dreglings.
Through the alleyway, head down small stairs, and at the bottom of the stairs is a stable area with lots of Dreglings and flammable barrels. You can use firebombs or Flame Toss to blow up the barrels at the bottom of the stairs, eliminating most of the Dreglings here. Alternatively, you can bait the Dreglings up to Ostrava. Once all the enemies are eliminated, head to the back of the stable where you can pick up 3 Hardstone Shards, and 3 Sharpstone shards.
Retrace your steps back to the doorway where the Dregling kicked it open, and head right down the path, following Ostrava. At the end of the hallway, turn right and break the furniture with a melee attack and go into the courtyard. You can eliminate these Dreglings or just run past them, up the stairs on your left. Follow the stairway all the way up and then go through the fog wall on your right.
Dragon Bridge
Follow the path straight, and on your right, there will be a wooden box holding boulders. Cut the small planks across the front of the box, and the boulders will roll out, eliminating all of the enemies along the narrow walkway. Go down the walkway and turn right to go up a small set of stairs in front of you is a large bridge with a lot of Dreglings on it and to your left is a long hallway. Head straight to the bridge, but only go far enough to get the attention of two of the Dreglings. Do not run any further than that, as a dragon will now fly over the bridge. Eliminate the two Dreglings that follow you, but instead of running back towards the bridge, go down the hallway.

The Red Dragon bridge
At the end of the hallway is a small flight of stairs, head down the stairs on your left into a grassy plain with a dragon facing away from you. The first dragon will land and do a fire attack into the valley. Head into the valley but keep to the left and close to the cliff wall. Run all the way down the end of this small path to get two Archstone shards. Turn around and head back towards the stairs, keeping close to the cliff wall again to avoid the fire attacks. Now continue back to the bridge. You can lure the enemies out one by one or wait for the dragon to fly overhead. The dragon will do a fire attack and clear out all the enemies for you.
At the end of the bridge, head through the doorway and pull the lever to your right to initiate a short cutscene. Turn around and go through a doorway and turn left. Break the rubble and at the end of the short hallway pick up Black Pine Resin.
Turn around and follow the path past the doorway you came from. Head right through the door, taking care to avoid the enemies in the corner ready to ambush you and follow the stairs down. There will be Hoplite enemies that have melee and ranged attacks. Note: The Hoplites are weak to fire attacks.
At the bottom of the stairs pull the lever, this will open the small gate and allow you to go through the fog wall.
Now, prepare for the boss battle with Phalanx!