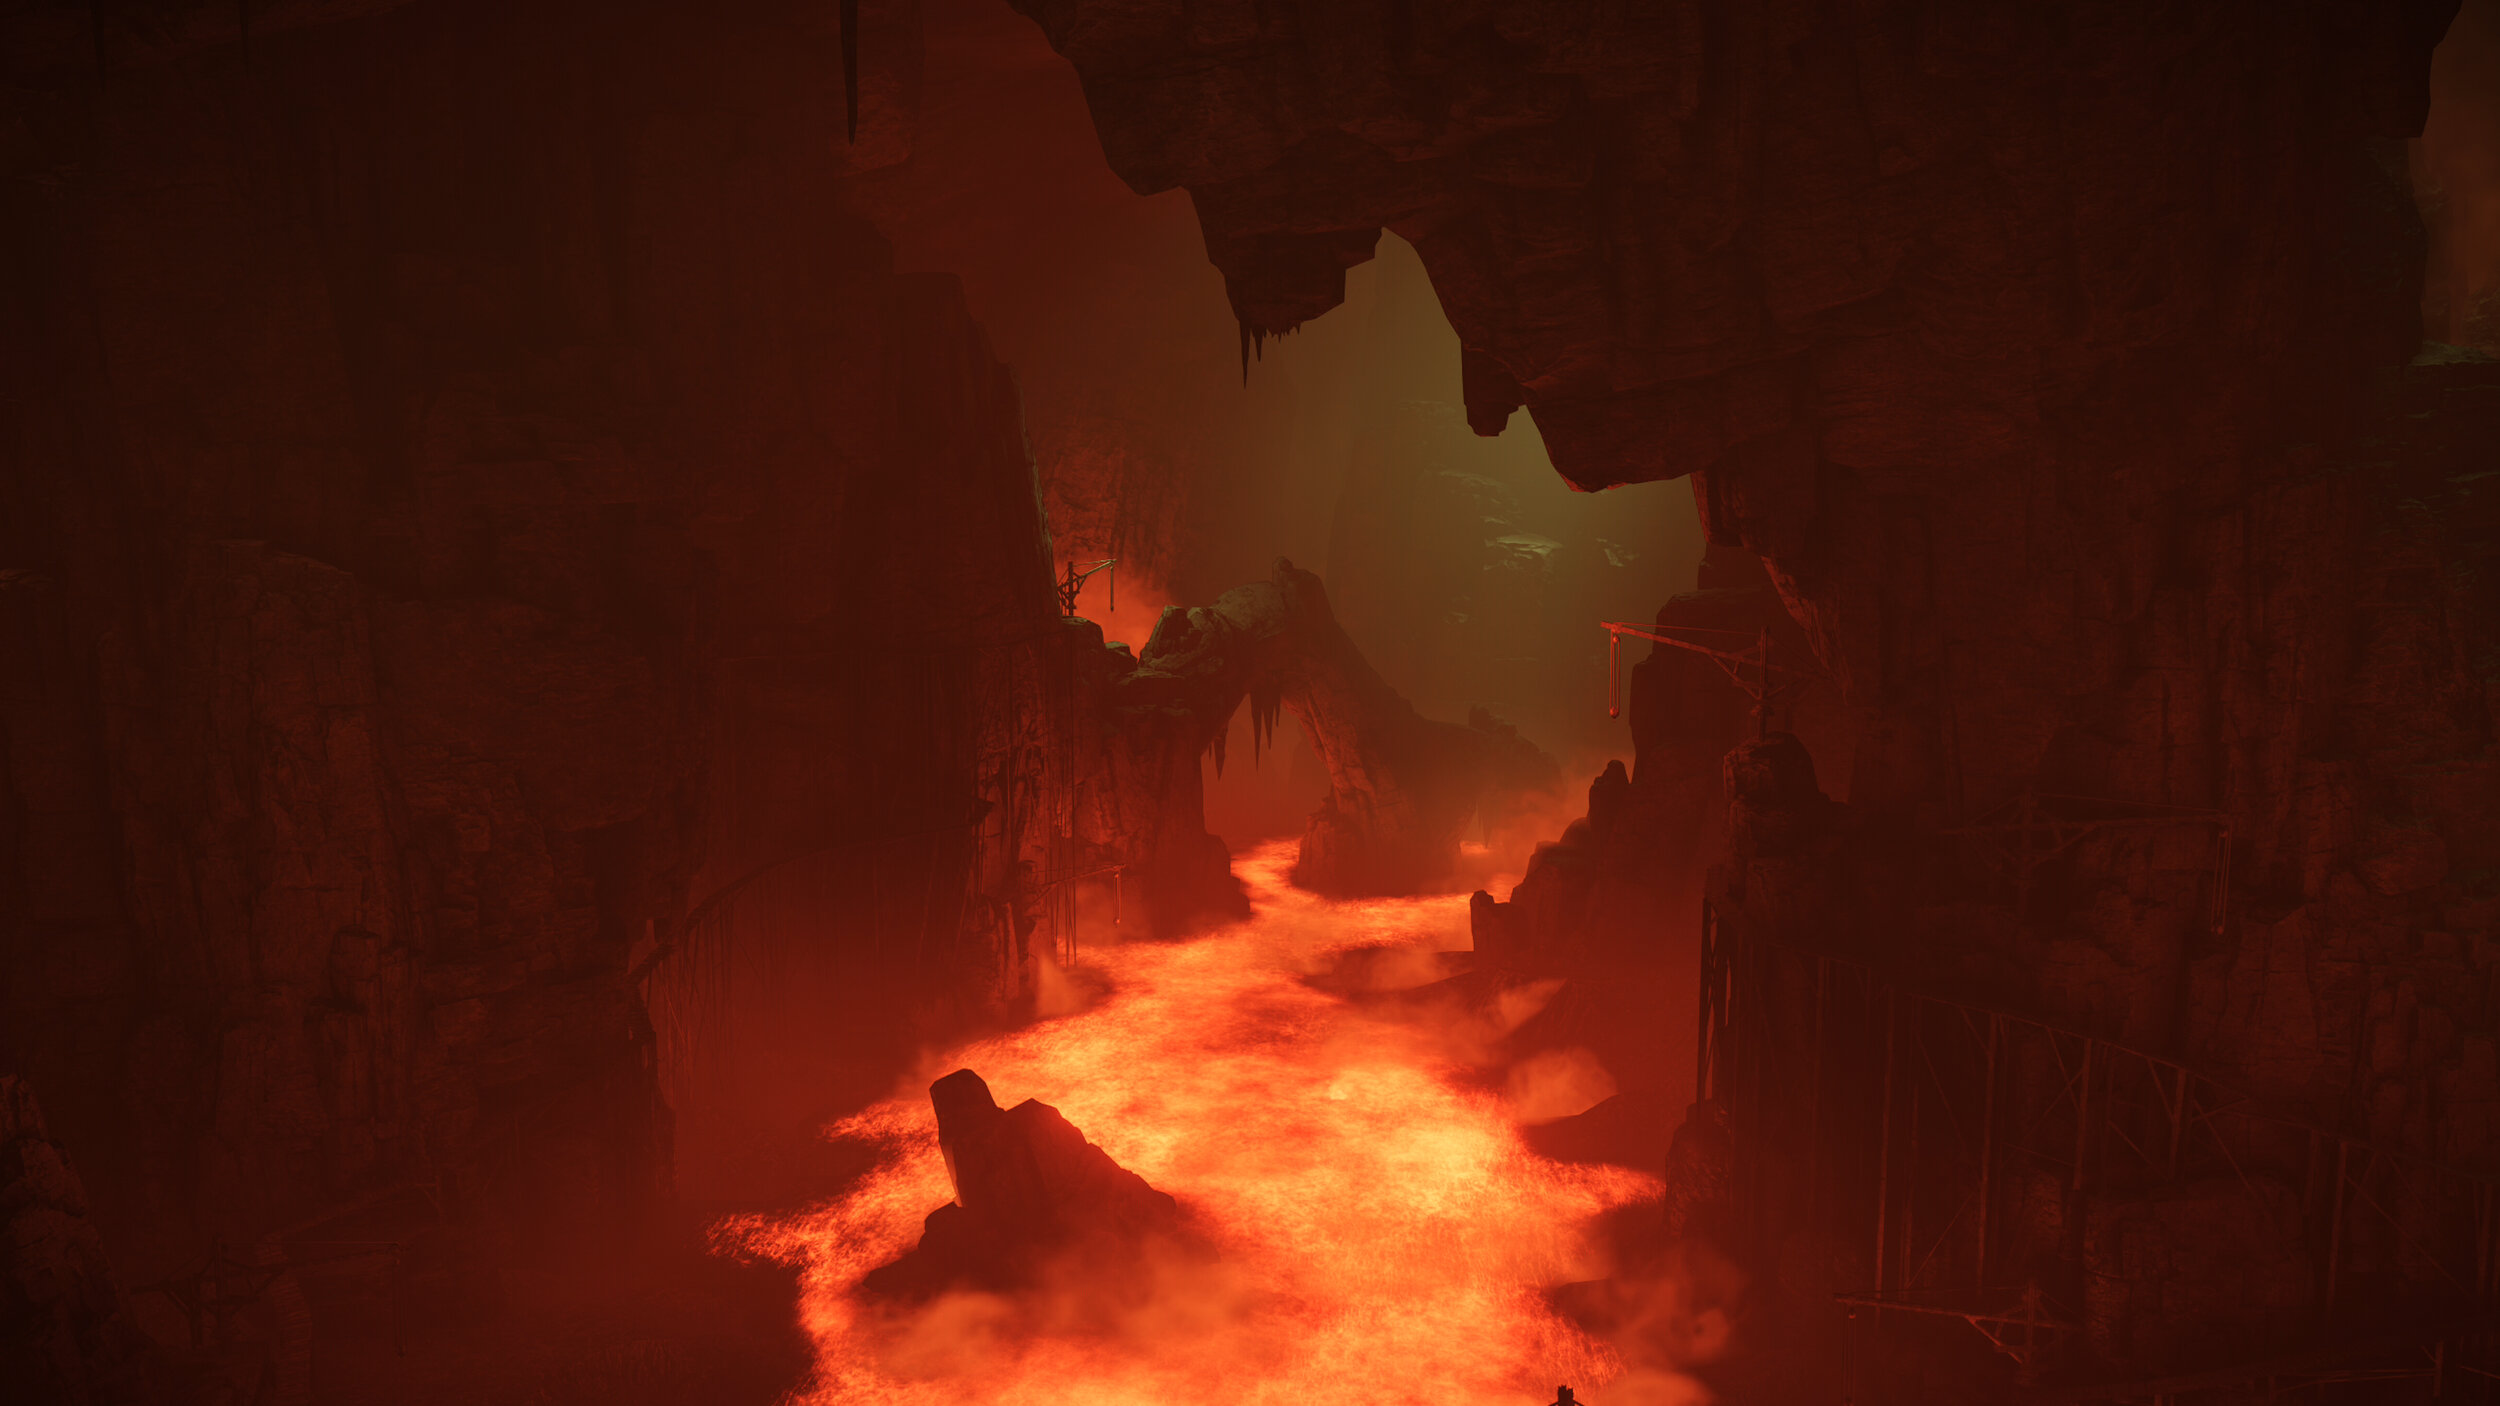
The Tunnel City (2-2)
Walkthrough
Player Note: There are two ways to get to the next boss from the Armored Spider Archstone. The first method is through a long series of tunnels and passageways. The second way is just a short sprint from the Archstone. This guide will take you the shortest way possible.
From the Armored Spider Archstone, head straight forward. There will be a few mining enemies in this area that can be killed or ignored. There will be exploding mine carts that come down the rails, so be careful to watch for those. Turn right and head down a brick tunnel. More mining enemies will be in this tunnel. A few of these enemies are aggressive, but most can be ignored. When you come out of the tunnel, turn right and break or roll through the crates carefully.
Once you destroy all of the crates and are at the end of the walkway, face with your right side toward the cave wall, and left side to the chasm. Roll forward onto the platform in front of you. From this platform, drop down to your left. Walk all the way to the left of the platform and drop down again. Walk all the way right until you can see planks below you and drop down again. Walk right once more, about halfway down the platform, and look below you. You should see planks perpendicular to the platform you are standing on. Line up your character with the planks and drop down.
Walk to your right until you see two lights below you and drop down once more. One this platform, there will be a ladder on the left that will take you down to the final few platforms. From the base of the ladder, walk all the way to the left. You can take the ladder down to the bottom of the floor or roll onto the platform directly in front of you and roll down to the floor from here.
There will be a few worms that pop out of the ground here to be careful of, but it is easy to only aggro one worm at a time. From the ladder that connects to the floor, there will be a small tunnel to your right. Go through this tunnel.
Once out of this short tunnel, turn left and go all the way to the end of the passage. There will be three worms here guarding an item. Note: It's easiest to take out the worms with magic/ranged attacks here as all three worms have Area of Effect attacks that do substantial damage. There three worms are guarding two Hand of God items. Turn around and head all the way back down this passageway. At the end of the passageway is a fog wall.
Prepare for the boss battle with Flamelurker!


